


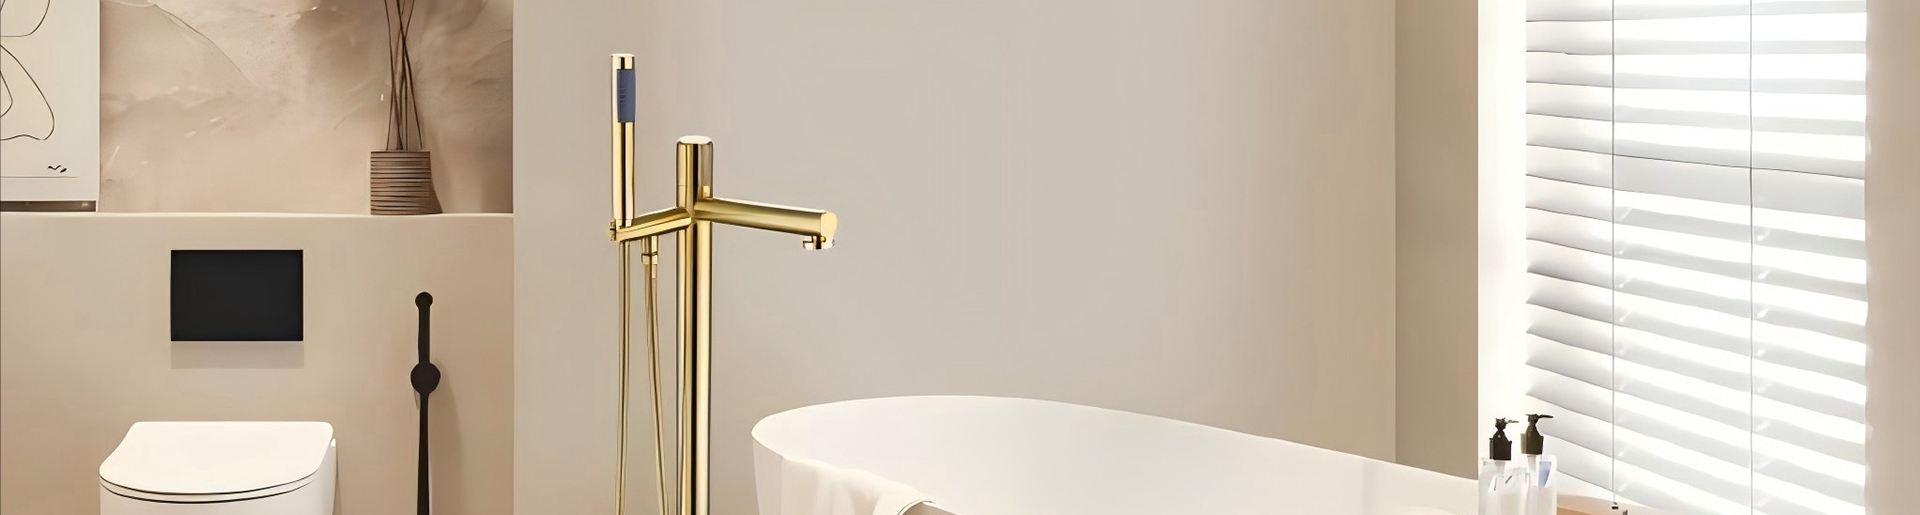
How to Measure Bathroom Faucet Size?
Choosing the correct Bathroom Faucet size ensures both functionality and visual harmony. Measuring the faucet accurately before purchasing or replacing it helps avoid installation issues and mismatched proportions. This guide explains how to measure a bathroom faucet size precisely, covering all critical dimensions you should know.
Table of Contents
- Understanding Faucet Size Basics
- 1. Measure the Faucet Centers
- 2. Determine Spout Height and Reach
- 3. Check Mounting Hole Configuration
- 4. Identify the Thread Size and Connection Type
- 5. Evaluate Sink Proportions and Countertop Space
- 6. Measure for Wall-Mounted Faucets
- 7. Record and Compare Measurements
- Practical Installation Tip
- Final Thoughts
Understanding Faucet Size Basics
A faucet’s size is not defined by a single measurement but by several key dimensions that together determine compatibility. These include the spout reach, spout height, faucet center distance, mounting hole size, and thread connection size. Each dimension affects installation and daily use differently, so all must be evaluated.
1. Measure the Faucet Centers
For widespread and center-set faucets, the faucet center measurement determines spacing between handles and the spout.
Use a ruler or tape to measure the distance between the centers of the two outermost mounting holes on your sink or countertop.
Common sizes include 4 inches (for center-set faucets) and 8 inches (for widespread faucets).
Some modern single-hole faucets do not require this measurement because the handles and spout are combined.
| Faucet Type | Common Center Distance | Description |
|---|---|---|
| Single-hole | N/A | One integrated handle and spout |
| Centerset | 4 inches | Compact for small sinks |
| Widespread | 8 inches or more | Flexible installation, elegant appearance |
2. Determine Spout Height and Reach
The spout height is the vertical distance from the base to the spout’s outlet, while the spout reach measures the horizontal distance from the faucet base to where the water lands in the basin.
Measure height with a tape from the deck or sink surface up to the tip of the spout.
Measure reach from the faucet body’s centerline to the center of water flow in the sink bowl.
These dimensions ensure the faucet complements the basin’s depth and prevents splashing.
3. Check Mounting Hole Configuration
Different sinks come with one, two, or three holes. Before selecting a faucet, check how many holes are available on your sink:
Single-hole sinks suit minimalist or modern faucets.
Three-hole sinks accommodate separate handles and spouts.
If you wish to install a single-hole faucet on a three-hole sink, use a deck plate (escutcheon) to cover unused holes.
Measure the diameter of each mounting hole—most are 1 3/8 inches (35 mm), but this may vary. Ensure the faucet’s base matches the existing holes.
4. Identify the Thread Size and Connection Type
The thread size and connection type are crucial for compatibility with existing plumbing.
The standard connection in many regions is ½ inch NPT (National Pipe Thread) for supply lines.
Some imported or designer models may use ⅜ inch compression fittings.
If replacing a faucet, check the thread size printed on the valve or consult the installation manual.
Taking accurate connection measurements helps ensure that the faucet can be installed without additional adapters.
5. Evaluate Sink Proportions and Countertop Space
Before finalizing your faucet, assess how the faucet will align with the sink and countertop.
Measure the sink width and bowl depth to ensure the water flow lands correctly.
Leave enough clearance behind the faucet for the handle to move freely.
If you have a vessel sink, consider a taller faucet (8–12 inches) to clear the basin edge comfortably.
Proportionate design enhances both aesthetics and usability, creating a balanced bathroom setup.
6. Measure for Wall-Mounted Faucets
For wall-mounted models, the measuring approach differs:
Measure the distance between the inlet pipes in the wall (typically 6 inches apart).
Note the spout length, which determines how far water projects into the basin.
Ensure sufficient vertical clearance between the spout and basin rim for practical use and visual alignment.
Wall-mounted faucets require precision, as misalignment can lead to water splashing or installation complications.
7. Record and Compare Measurements
After completing all measurements, record them carefully before purchasing. Create a table to summarize:
| Measurement Type | Recorded Value | Recommended Range |
|---|---|---|
| Faucet Center | 8 in | 4–12 in depending on design |
| Spout Height | 6.5 in | 5–10 in typical |
| Spout Reach | 5.5 in | 4–8 in typical |
| Hole Diameter | 1 3/8 in | 1 1/8–1 ½ in |
| Thread Size | ½ in NPT | Standard connection |
By comparing your data with manufacturer specifications, you ensure a perfect fit.
Practical Installation Tip
When installing or replacing a faucet, take note of the gasket thickness and mounting hardware space under the sink. Tight clearances in vanity cabinets may limit the type of faucet you can install. It is also helpful to check that the supply lines are long enough to connect to shut-off valves without stress.
Final Thoughts
Accurate measurement is the foundation of a smooth faucet installation. By checking faucet centers, spout dimensions, hole configurations, and thread sizes, you ensure compatibility with your sink and plumbing system. These measurements not only help in choosing the correct faucet but also improve long-term comfort and usability.
If you are upgrading to a new model, explore modern and precisely engineered faucets designed for both aesthetic appeal and functional performance. Proper sizing guarantees your bathroom maintains a cohesive, practical, and elegant appearance for years to come.
Previous: How to Clean Rainfall Shower Head?