


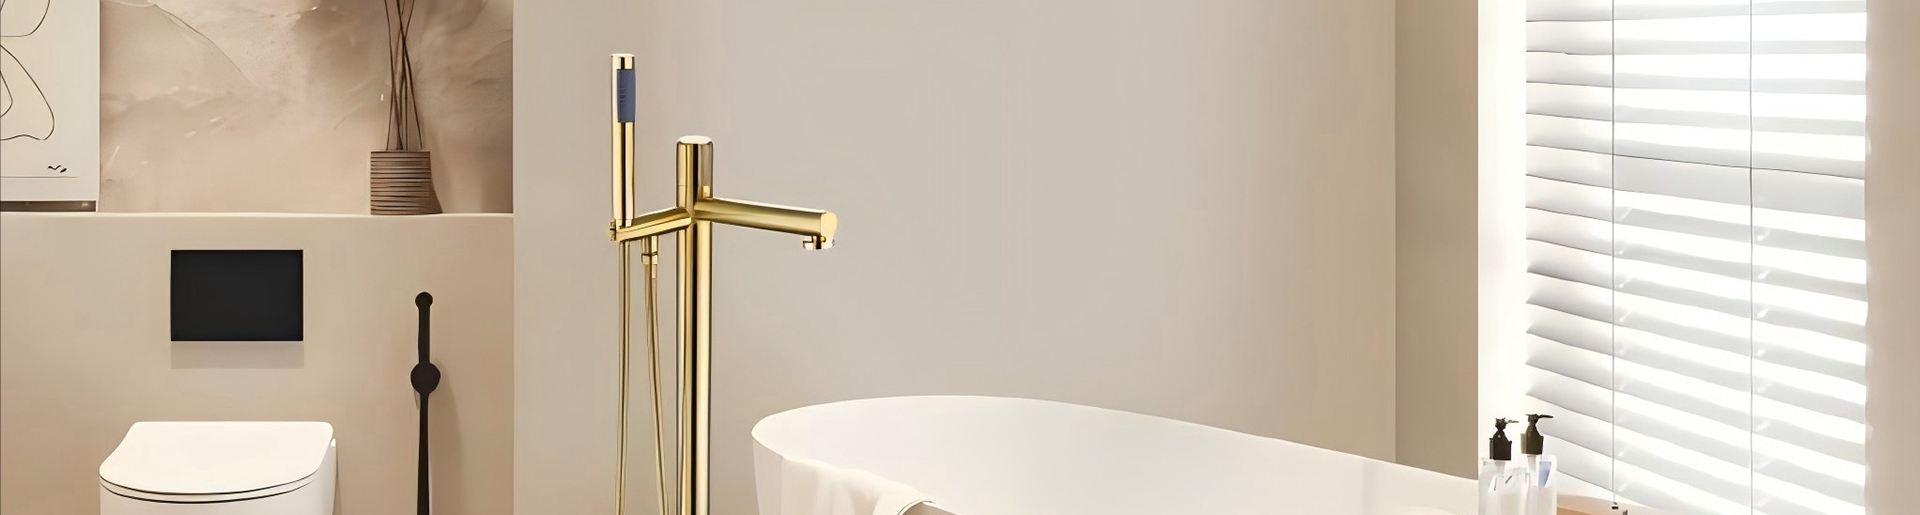
How to Clean Pull down Kitchen Faucet Head?
A pull-down spray head works hard: it switches modes, retracts through a hose, and handles food residue plus mineral-rich water every day. When deposits build up inside the nozzle and screen, you will usually see uneven spray, reduced flow, or a “side-shooting” pattern. From a manufacturer’s viewpoint, routine cleaning is not only about appearance—it helps protect the precision parts that keep spray modes stable and sealing surfaces tight.
One key reason cleaning matters is that water systems can support biofilm growth in certain conditions. Public health data in the United States shows waterborne pathogens are linked to an estimated 7.15 million illnesses, 118,000 hospitalizations, and 6,630 deaths annually, with $3.33 billion in direct healthcare costs. This estimate is reported in CDC surveillance and burden research summaries.
Table of Contents
- What typically causes clogging in a pull-down spray head
- Tools and materials for safe, consistent cleaning
- Step-by-step: deep clean the pull-down faucet head
- Quick diagnosis table: symptom → cause → fix
- Cleaning frequency that prevents failures
- Compliance and material considerations that influence cleaning choices
- Preventive habits that reduce scale and callbacks
- Final checklist before you close the job
What typically causes clogging in a pull-down spray head
Mineral scale from hard water is the most common cause. The U.S. Geological Survey classifies water hardness by calcium carbonate concentration:
0–60 mg/L: soft
61–120 mg/L: moderately hard
121–180 mg/L: hard
Over 180 mg/L: very hard
The harder the water, the faster scale can narrow the spray channels and block the screen.
Debris and sediment can also collect at the screen, especially after plumbing work or when local water lines are flushed.
Grease and fine food particles can stick to the nozzle face and slowly trap scale, making cleaning harder later.
Tools and materials for safe, consistent cleaning
Prepare these items before you start:
White vinegar
Clean bowl or cup
Soft nylon brush or toothbrush
Microfiber cloth
Wooden toothpick or plastic pin
Adjustable wrench or strap wrench
PTFE tape, only if you see seepage at threads after reassembly
A practical maintenance reminder from the U.S. EPA is to periodically inspect faucets for scaling or calcium buildup and use white vinegar or another cleaning product to remove buildup that restricts flow.
Step-by-step: deep clean the pull-down faucet head
Step 1: Protect the finish and shut off water if needed
Set the faucet to off. If you plan to disassemble the head fully, closing the under-sink shutoff valves helps avoid accidental spray while testing later.
Use a cloth on any wrench contact points to protect surface finishes.
Step 2: Remove the spray head
Most pull-down heads unscrew from the hose by hand. If it is tight, use a strap wrench and turn gently.
Tip from manufacturing QA practice: do not twist the hose itself. Hold the hose fitting steady and turn the head.
Step 3: Disassemble the nozzle face and screen
Inside the head, you will typically find:
Nozzle face plate
Screen filter
Flow regulator
Sealing gasket
Lay parts in order so reassembly is correct.
Step 4: Soak to dissolve mineral scale
Place the screen, regulator, and nozzle parts in white vinegar.
For light buildup: 5–10 minutes is often enough
For heavier scale: 20–30 minutes is a common guideline used in public health maintenance guidance for faucet aerators
If buildup is extreme, extend the soak in cycles rather than leaving parts overnight. Short cycles reduce risk to certain coatings and seals.
Step 5: Brush and clear spray channels
Use a soft brush to scrub the screen and the inside surfaces. For individual spray holes, use a wooden toothpick or plastic pin and clear from the outlet side without enlarging the holes.
Rinse thoroughly with clean water.
Step 6: Reassemble and flush
Reinstall the parts in the same order. Hand-tighten first, then lightly snug if needed.
Before you test spray patterns, run water for 20–30 seconds:
Start in stream mode
Switch to spray mode
Confirm smooth mode change and stable pattern
Quick diagnosis table: symptom → cause → fix
| Symptom you see | Likely cause | What to do |
|---|---|---|
| Spray shoots sideways | Scale blocking nozzle holes | Vinegar soak, clear holes with toothpick, rinse |
| Flow is weak in both modes | Screen and regulator clogged | Disassemble, soak 20–30 minutes, brush screen |
| Stream is fine but spray is poor | Spray plate channels blocked | Focus cleaning on spray face and plate |
| Drip after shutting off | Debris at cartridge or check valve area | Flush lines, clean head and screen; if persistent, inspect internal sealing system |
| Retraction feels heavy | Weight position or hose friction | Check weight location, confirm hose not twisted, verify smooth guide path |
Cleaning frequency that prevents failures
A consistent schedule reduces emergency maintenance and complaints:
Very hard water areas over 180 mg/L: clean monthly
Moderately hard to hard water 61–180 mg/L: clean every 2–3 months
Soft water areas 0–60 mg/L: clean every 3–6 months
Also clean immediately after plumbing work, new installation, or local water line flushing.
Compliance and material considerations that influence cleaning choices
Many projects require compliance with drinking-water contact and low-lead expectations. In the United States, the Safe Drinking Water Act lead-free requirement defines “lead free” as a weighted average of 0.25% lead across wetted surfaces.
From a product engineering standpoint, material selection and finish process affect how you should clean:
Some pull-down designs support multiple body materials, including brass and SUS 304 stainless steel, and use surface treatments such as plating or painting
Avoid harsh abrasives that can scratch plated layers and create future scale attachment points
Prefer controlled vinegar soak cycles and soft brushing for repeatable results
If you are evaluating or specifying a model for consistent serviceability, review a full product configuration such as a Pull Down Sink Mixer and align cleaning procedures with the selected finish and internal spray head structure.
Preventive habits that reduce scale and callbacks
Wipe the spray face dry after heavy use to reduce drying spots that turn into scale
Run both spray modes weekly to prevent deposits forming in rarely-used channels
Flush for 10–20 seconds after long periods of non-use to clear stagnant water and loosen particles
Inspect the screen during routine site checks, especially in hard-water regions
The goal is simple: keep flow paths open, keep seals clean, and maintain stable spray switching performance over the product’s service life.
Final checklist before you close the job
Spray pattern is even in both modes
No leak at the hose-to-head connection
Retraction is smooth, no hose twist
No rattling parts inside the head
Screen and regulator are seated correctly
A properly cleaned pull-down faucet head should return to a centered, consistent spray with predictable flow and smooth mode switching, while preserving finish integrity and long-term durability.