


How to Clean Stainless Steel Bathroom Faucet?
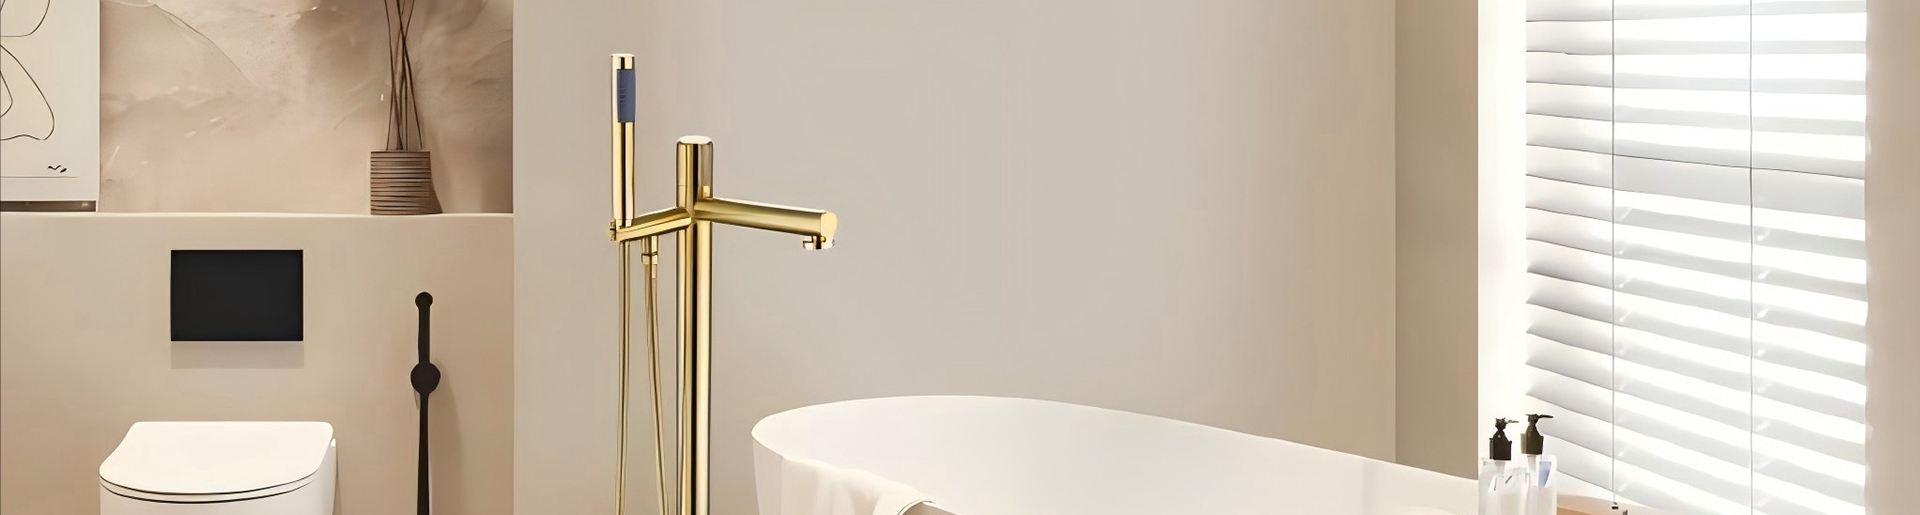
Stainless steel Bathroom Faucets are chosen for their clean look, corrosion resistance, and long service life, but they still need the right care routine to keep the finish bright and the moving parts smooth. “Stainless” does not mean “stain-proof.” Most faucet-grade stainless relies on a thin, self-healing chromium-oxide layer for protection, and that layer can be damaged by chloride-heavy chemicals, aggressive abrasives, or iron contamination from tools and scrubbers. Regular, correct cleaning is the simplest way to prevent dullness, water-spot buildup, and early surface pitting.
This guide is written from a manufacturer’s viewpoint, focusing on methods that protect the finish without shortening the lifespan of seals, aerators, and valve components.
Table of Contents
- Know Your Stainless Steel Surface Before You Clean
- The Golden Rules of Stainless Faucet Cleaning
- Step-by-Step: Routine Cleaning in 5 Minutes
- Removing Water Spots, Soap Scum, and Fingerprints
- Disinfection: What to Use and What to Avoid
- Quick Reference: Do and Don’t Table
- Aerator Care: The Hidden Step That Improves Flow
- Common Cleaning Mistakes That Reduce Faucet Lifespan
- Why AIDIER Stainless Bathroom Faucets Are Easier to Maintain
- A Simple Maintenance Standard That Protects the Finish
Know Your Stainless Steel Surface Before You Clean
Many bathroom faucets marketed as stainless steel use austenitic stainless grades commonly associated with “18/8” composition, meaning roughly 18% chromium and 8% nickel. This chemistry is a big reason stainless performs well in humid bathroom conditions.
Even with good material selection, the surface finish matters:
Brushed finishes hide fingerprints better but show scratches if cleaned against the grain.
Polished finishes look mirror-bright but can show water spots faster.
Coated finishes may require even milder cleaners; harsh chemicals can haze coatings.
If you are maintaining wash hand basin taps, treat the visible stainless surfaces as a “finish system” rather than just metal—cleaning choices affect appearance and corrosion resistance over time.
The Golden Rules of Stainless Faucet Cleaning
Clean with mild soap first, not harsh chemicals
Daily grime is typically skin oils + soap residue. Warm water with a mild detergent is enough in most cases, and it avoids chemical attack on the protective surface.
Always wipe with the grain
Stainless often has directional brush lines. Cleaning with the grain reduces micro-scratching and streaks. This is a standard care instruction in stainless maintenance guidance.
Rinse, then dry
Leaving cleaner residue or hard water minerals behind is a common reason faucets look “cloudy.” Drying prevents mineral spotting and keeps the shine consistent.
Never use steel wool or carbon-steel brushes
Steel particles can embed into stainless and later rust, creating the impression that the faucet is “rusting.” Maintenance guides commonly warn against steel wool for this reason. (technicallibrary.midmark.com)
Step-by-Step: Routine Cleaning in 5 Minutes
1) Rinse loose debris
Use warm water to remove dust and grit that can scratch during wiping.
2) Wash with mild soap solution
Mix a small amount of mild dish soap into warm water.
Use a soft microfiber cloth or soft sponge.
Wipe gently with the grain.
3) Rinse thoroughly
Use clean water to remove all soap film, especially near handle bases and around the spout.
4) Dry and buff
Dry immediately with a clean microfiber towel. Light buffing restores uniform shine and reduces spotting.
Frequency recommendation
Light-use bathrooms: 2–3 times per week
High-traffic washrooms: quick wipe daily + full clean 2–3 times per week
This schedule minimizes buildup so you rarely need aggressive scrubbing.
Removing Water Spots, Soap Scum, and Fingerprints
Water spots
Water spots are typically mineral deposits. Start gentle:
Wash with warm soapy water and dry.
If spots remain, use a diluted mild acidic wipe briefly, then rinse and dry.
Important: prolonged exposure to acids can dull some finishes, so treat it as short “spot cleaning,” not a soak.
Soap scum around the base
Use warm soapy water first.
For stubborn scum, place a warm, damp cloth over the area for 1–2 minutes to soften residue, then wipe.
Fingerprints
A microfiber cloth slightly dampened with water often removes fingerprints without any chemicals.
Disinfection: What to Use and What to Avoid
Bathrooms sometimes require disinfection, but stainless faucets are not the place for “stronger is better.”
The U.S. CDC notes that most household bleach is typically 5%–9% sodium hypochlorite. At the same time, stainless maintenance references warn that chlorine bleach and chlorine-based products can cause pitting, corrosion, and discoloration on stainless surfaces. Industry guidance on sodium hypochlorite also cautions that stainless steels are not suitable for exposure to bleach solutions around 5% in demanding applications, reinforcing why bleach should be kept away from finished stainless fixtures.
Safer approach for hygiene
Clean first with soap and water.
If disinfection is required, choose a non-chloride, stainless-safe disinfectant and do not let it dwell on the metal.
Rinse thoroughly and dry.
Quick Reference: Do and Don’t Table
| Cleaning Need | Do | Don’t |
|---|---|---|
| Daily cleaning | Warm water + mild soap, microfiber cloth | Abrasive pads that scratch |
| Stubborn residue | Soften with warm damp cloth, then wipe | Heavy pressure scrubbing that scars the finish |
| Shine & streaks | Wipe with the grain, rinse, dry immediately | Leave soap film to “air dry” |
| Sanitizing | Use stainless-safe disinfectant, rinse fast | Chlorine bleach or chlorine-based cleaners |
| Rust-like marks | Remove with non-abrasive stainless-safe cleaner, rinse | Steel wool or carbon-steel brushes |
Aerator Care: The Hidden Step That Improves Flow
If a faucet looks clean but performance feels weaker, the aerator may be partially blocked by mineral debris.
Manufacturer-friendly method
Unscrew the aerator using a soft cloth to protect the finish.
Rinse the screen and housing.
If mineral buildup is visible, soak only the aerator parts briefly in a mild descaling solution, then rinse thoroughly.
Reinstall hand-tight.
This improves flow consistency without stressing internal cartridges or seals.
Common Cleaning Mistakes That Reduce Faucet Lifespan
Using bleach “just for a minute.” Even short contact can risk finish damage if not rinsed perfectly, and repeated exposure increases the chance of pitting.
Scrubbing across the grain. Creates visible haze on brushed stainless that is hard to reverse.
Letting products dry on the surface. Residues concentrate as they dry and can stain.
Using mixed-metal tools. Iron contamination can trigger localized rust staining.
Why AIDIER Stainless Bathroom Faucets Are Easier to Maintain
A good cleaning routine works best when the faucet is built with stable materials, controlled surface finishing, and consistent assembly standards.
With AIDIER, buyers typically benefit from:
Manufacturing consistency for commercial-grade supply programs: stable finishing and repeatable polishing/brushing standards reduce “batch-to-batch” appearance variation.
Quality control designed around real bathroom conditions: attention to surface integrity helps resist premature dullness from daily wiping and rinsing.
OEM/ODM readiness for project specifications: finish options, hardware selections, and packaging can be aligned to your market positioning without sacrificing maintainability.
Bulk order flexibility with practical minimums: supports both line expansion and replenishment cycles while keeping specifications consistent.
A Simple Maintenance Standard That Protects the Finish
Use mild soap and water for routine cleaning, wipe with the grain, rinse fully, and dry every time. Treat bleach and chlorine-based products as “finish destroyers,” not shortcuts. Done correctly, stainless bathroom faucets keep their original look longer, and performance stays steady with minimal service needs.
Previous: How Do Infrared Faucets Work?